A giant pop it stepping stone brings a playful, tactile charm to any garden path, blending nostalgic fidget-toy texture with genuinely functional outdoor decor. This budget-friendly tutorial walks through every step needed to cast one at home. Below is the complete, beloved process from start to finish.
Step 1: Gather Your Materials and Supplies
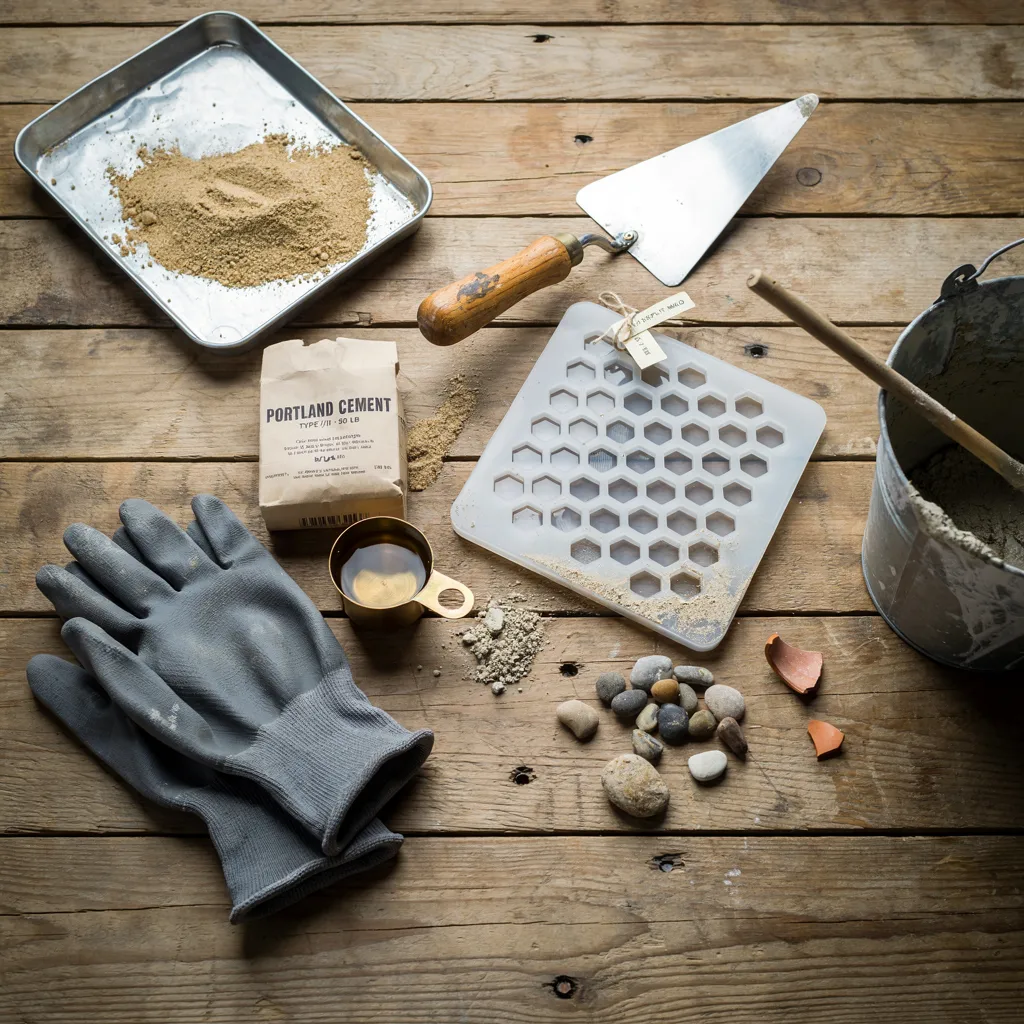
Before mixing anything, collect quick-setting concrete mix, a large silicone pop it mold, mixing containers, a trowel, and protective gloves for safety. Having every material within reach prevents rushed, messy improvisation once the concrete begins setting on its own timeline entirely.
Add a stir stick, a small scale or measuring cup, and a plastic sheet to protect your workspace throughout the entire project. This preparation stage feels genuinely unglamorous, yet it quietly determines how smoothly every following step will unfold and progress.
Step 2: Choose and Prepare the Silicone Mold
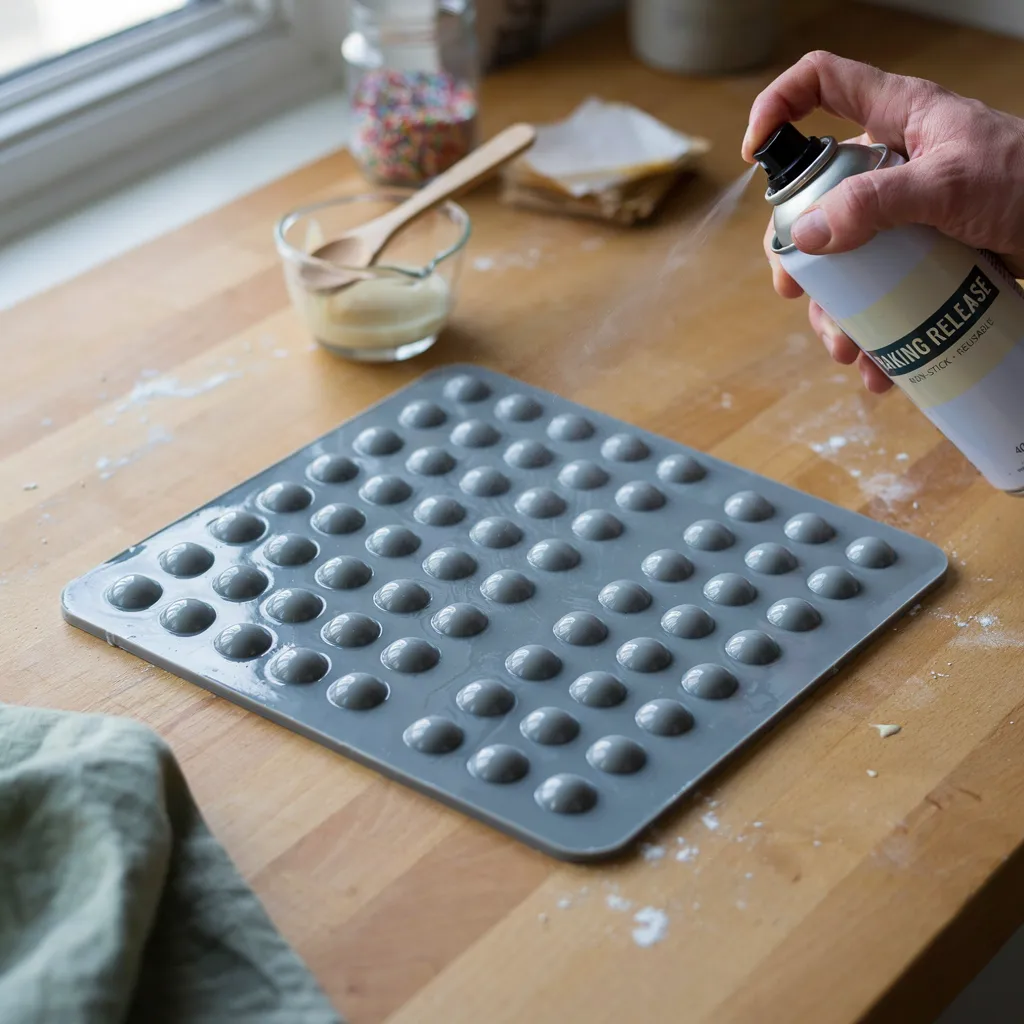
Select a large, flexible silicone pop it mold designed to withstand concrete’s weight and texture without warping or tearing during the pour itself. Silicone flexes easily during demolding later, making it far more forgiving than rigid plastic alternatives ever could be.
Wipe the mold’s interior with a light coat of cooking spray or mold release agent before pouring anything inside it entirely and thoroughly. This small, often-overlooked step genuinely determines whether your finished stone releases cleanly or fights you during removal later.
Step 3: Mix the Concrete to the Right Consistency
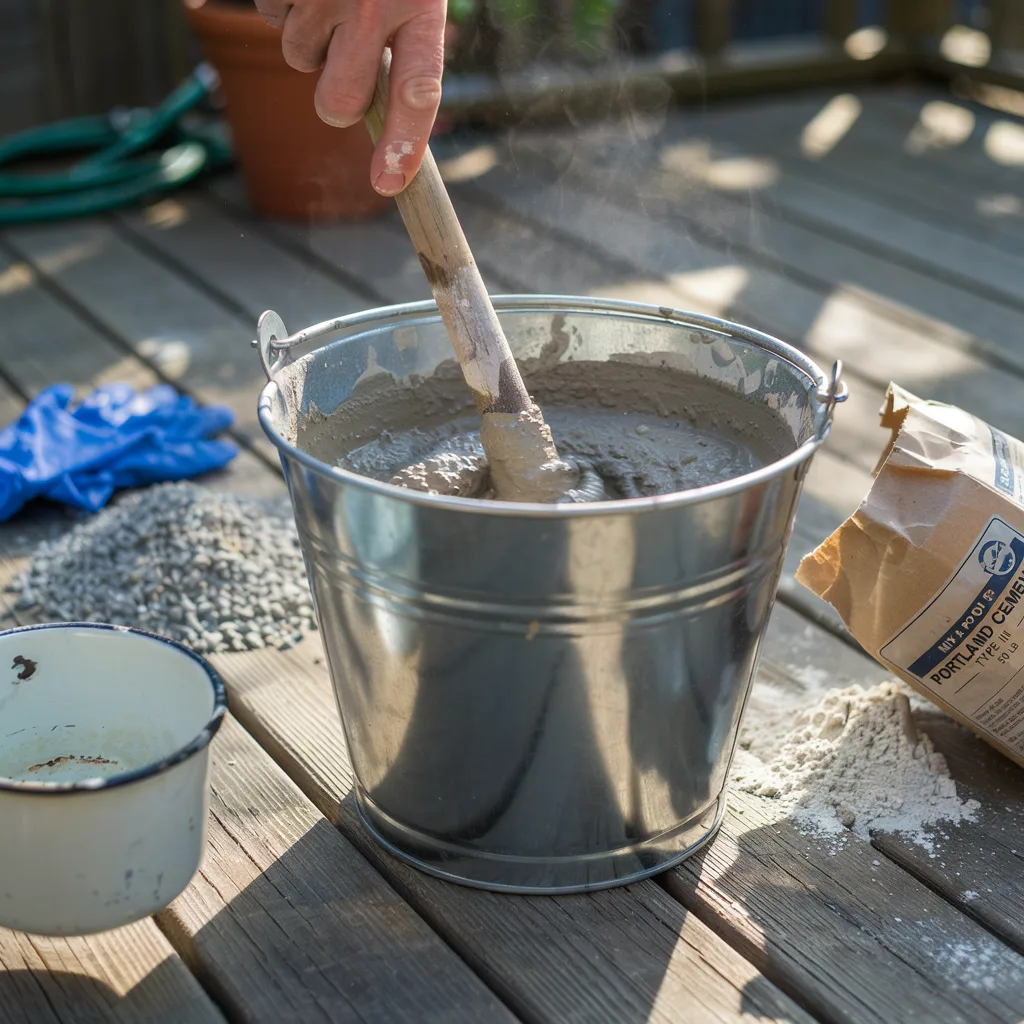
Combine quick-setting concrete mix with water according to package instructions, stirring thoroughly until the mixture resembles thick, lump-free pancake batter throughout entirely. Consistency matters enormously here, since concrete too thin will crack, while overly thick mixes trap stubborn air bubbles inside.
Mix in small batches rather than one large one, since concrete begins setting within just minutes of adding water initially. This measured pace feels genuinely worthwhile, preventing the frustrating rush of concrete hardening before it ever reaches the mold properly.
Step 4: Pour the Concrete into the Mold
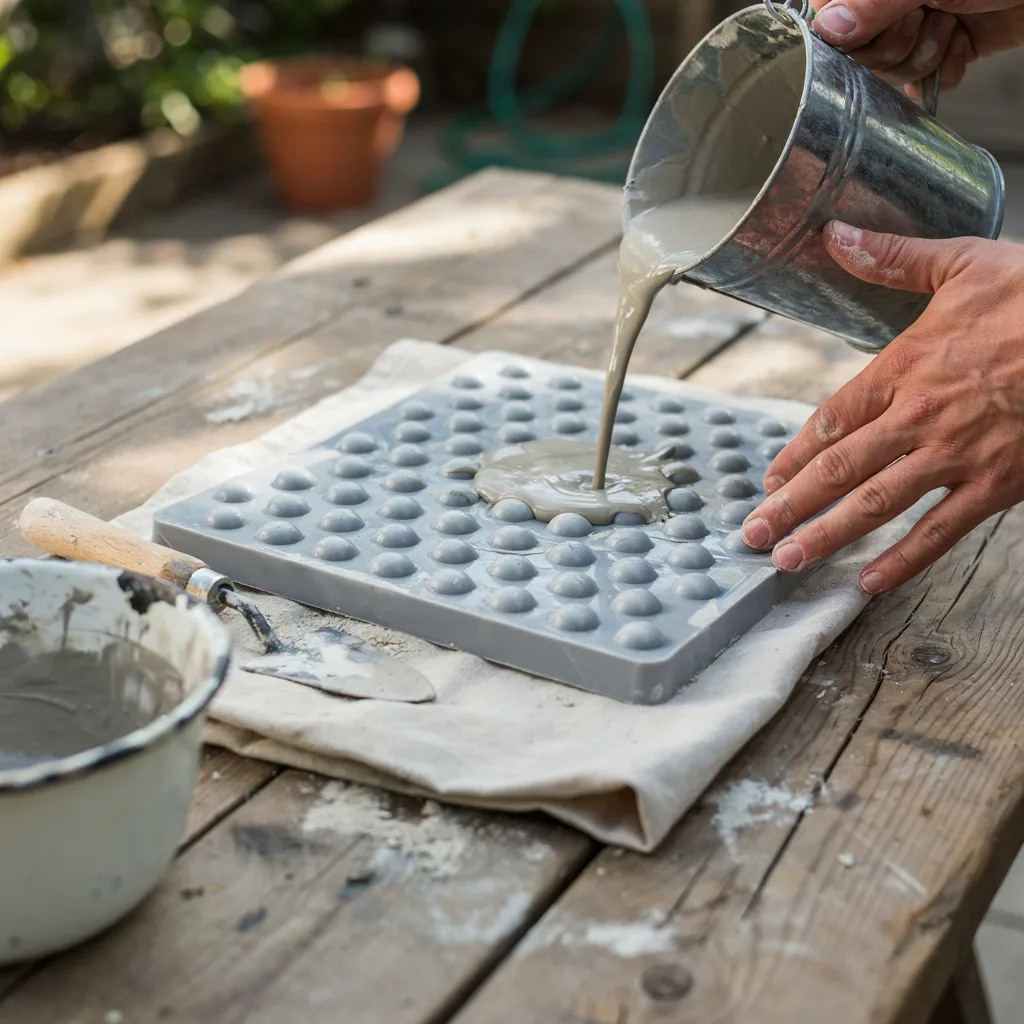
Slowly pour the mixed concrete into the prepared silicone mold, working from the center outward to encourage even distribution across every bubble cavity present. Overfilling slightly is fine, since excess can be leveled off during the smoothing stage that follows shortly.
Pour in thin layers rather than all at once, allowing the mixture to settle naturally into each individual bubble shape below. This gentle, patient approach feels genuinely rewarding, ensuring crisp, well-defined pop it bubbles once the stone eventually fully cures.
Step 5: Tap Out Trapped Air Bubbles
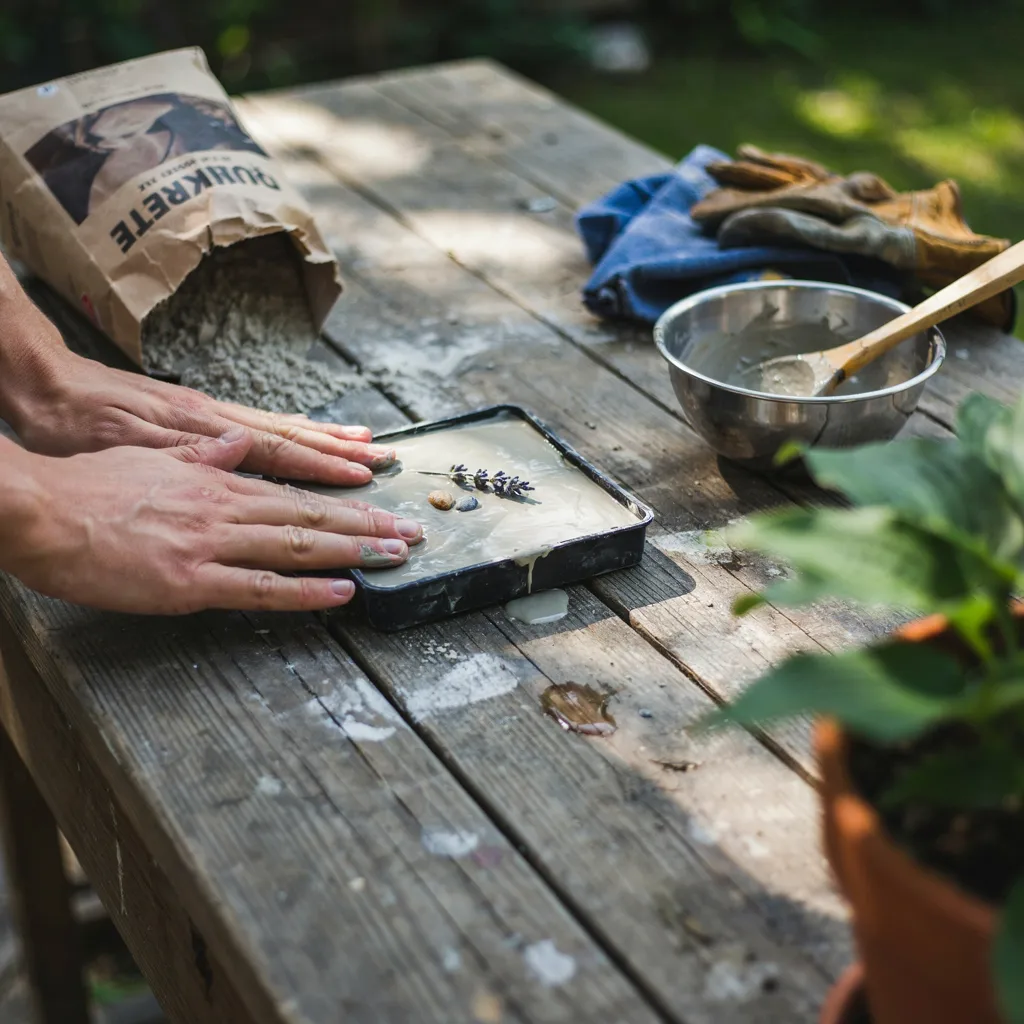
Gently tap the mold’s sides and base repeatedly against a table or the ground to release trapped air bubbles rising toward the surface steadily. Skipping this step often leaves unsightly pockmarks and weak spots once the stone fully cures completely.
Continue tapping for several minutes, watching small bubbles rise and pop along the surface as trapped air escapes gradually and steadily. This patient, almost meditative step feels genuinely important, since it directly determines the finished stone’s overall strength and smoothness.
Step 6: Smooth and Level the Surface
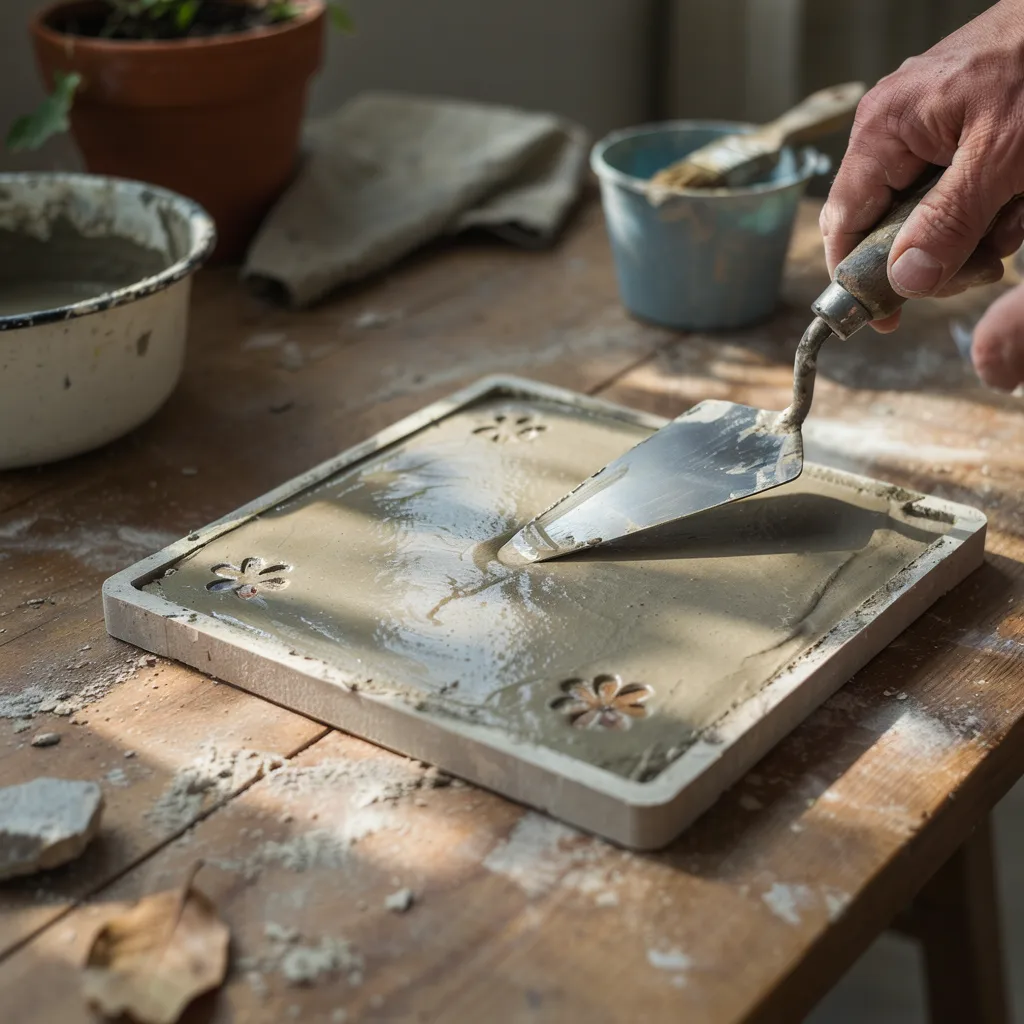
Using a flat trowel or straight edge, scrape across the mold’s top to remove excess concrete and create a smooth, level back surface entirely. This step ensures the stepping stone sits flush and stable once placed outdoors permanently in the garden.
Work in one steady, continuous motion rather than multiple choppy passes, which can introduce new air pockets or uneven ridges instead entirely and needlessly. This careful finishing touch feels genuinely satisfying, transforming a rough pour into a clean, professional-looking finished surface.
Step 7: Add Optional Color or Texture Accents
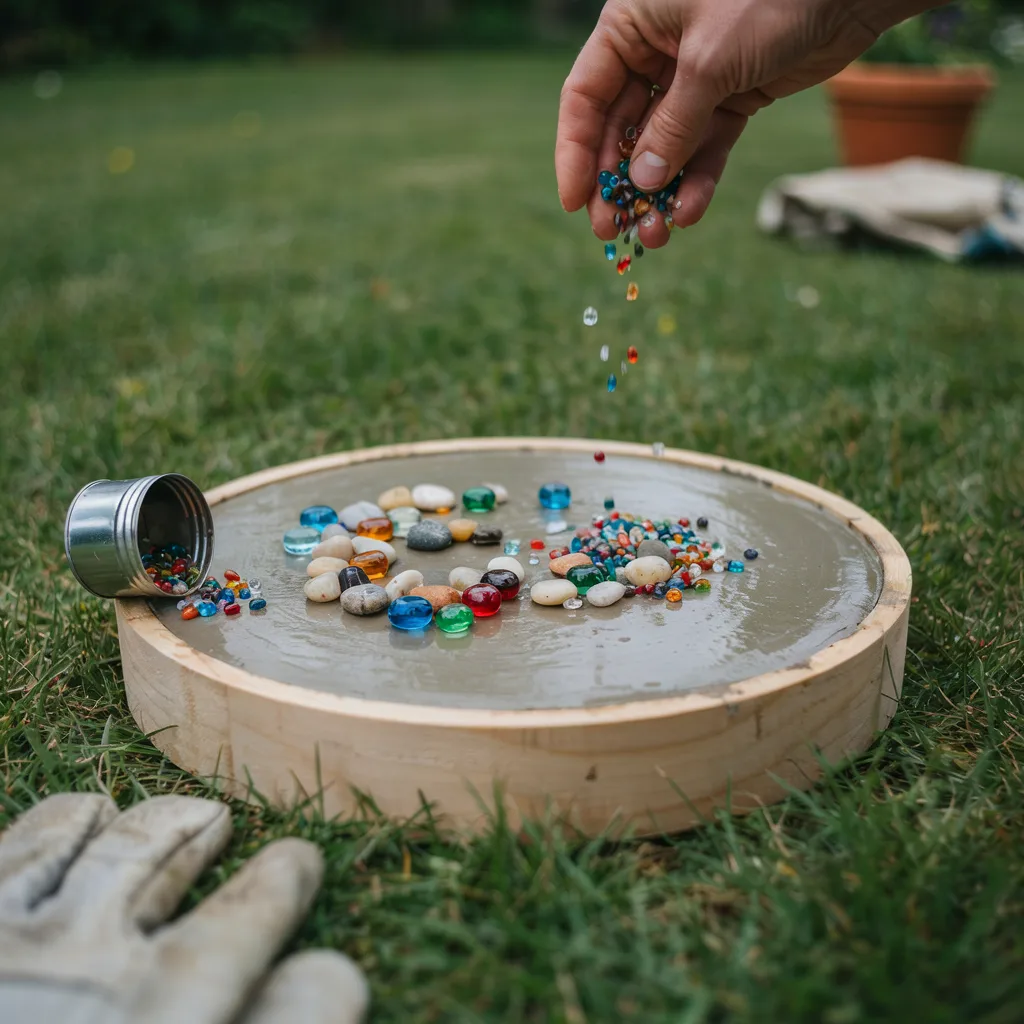
While the concrete remains wet, sprinkle in concrete dye, glass beads, or small pebbles across the back surface for added color and texture entirely. This optional embellishment step lets crafters personalize each stepping stone into a genuinely one-of-a-kind creation worth cherishing.
Press accents gently into the surface so they bond securely rather than sitting loosely on top once fully cured and hardened completely and permanently. This creative step feels genuinely joyful, turning a purely functional garden object into cherished, expressive outdoor art.
Step 8: Let the Concrete Cure Completely
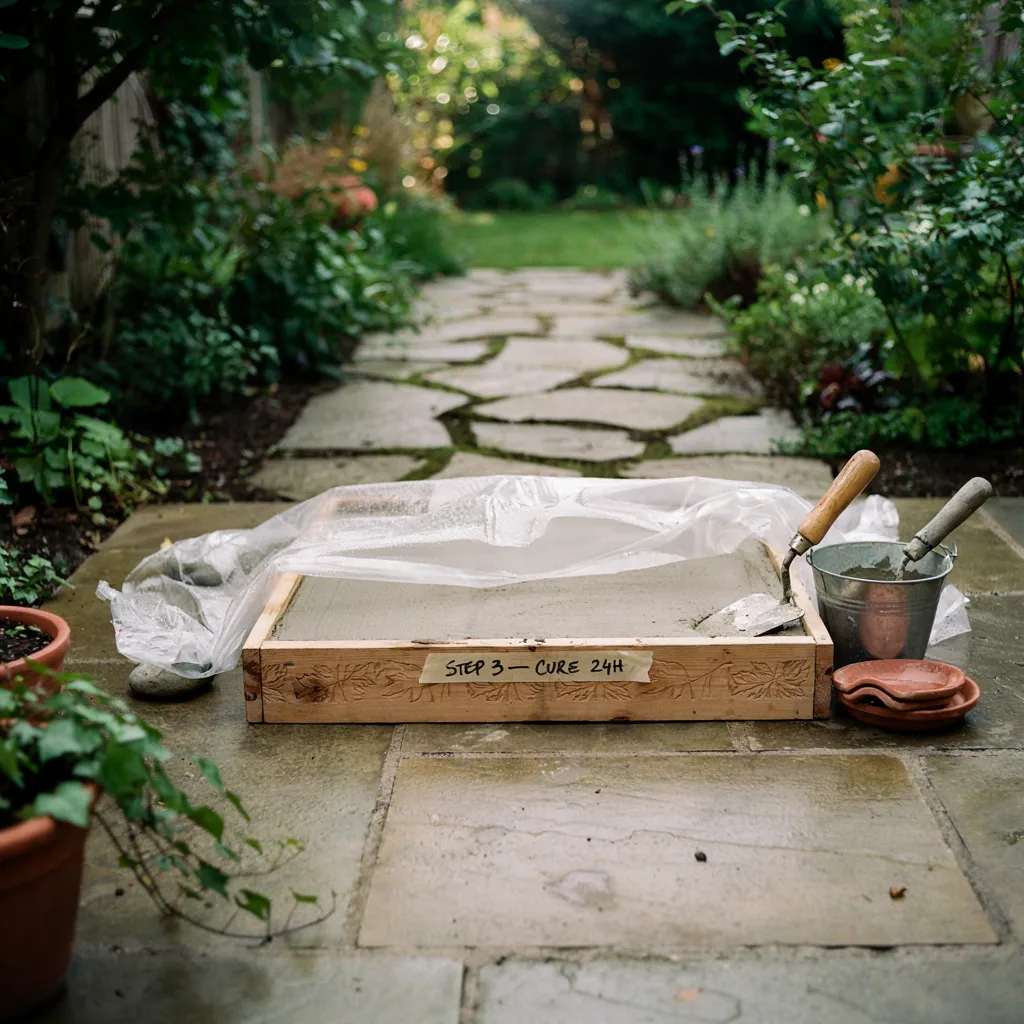
Set the filled mold in a shaded, level spot and allow the concrete to cure undisturbed for at least twenty-four to forty-eight full hours. Rushing this stage risks cracking or warping the delicate, still-hardening pop it bubbles entirely and permanently.
Cover the mold loosely with plastic sheeting to slow moisture loss and encourage stronger, more even curing throughout the entire stone completely. This waiting period feels genuinely difficult for eager crafters, but patience here rewards you with lasting, genuine durability.
Step 9: Carefully Demold the Finished Stone
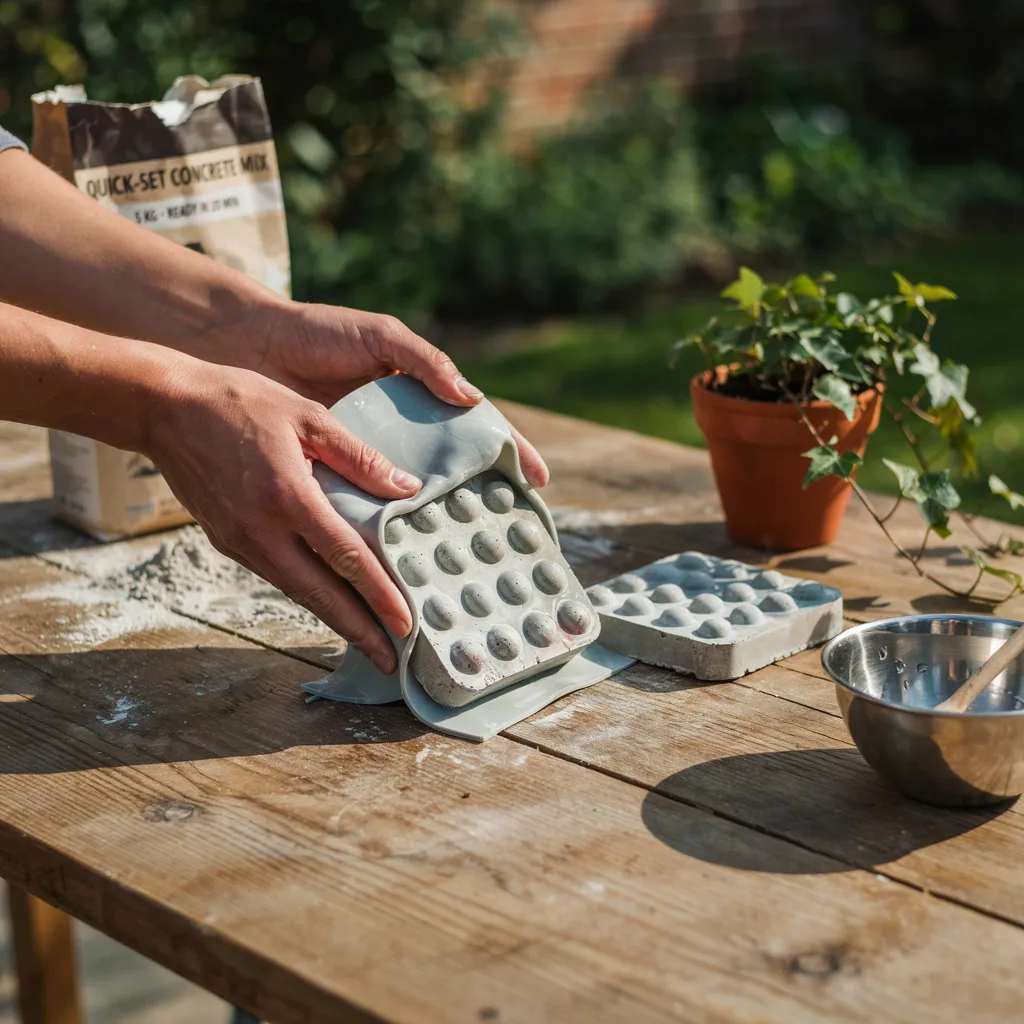
Once fully cured, gently flex the silicone mold’s edges away from the concrete, working slowly around the entire perimeter to loosen the stone carefully and patiently. Silicone’s flexibility makes this step considerably easier than rigid mold alternatives ever could manage.
Flip the mold over onto a soft, padded surface before peeling it away entirely, supporting the stone’s full weight throughout the process. This reveal moment feels genuinely thrilling, showing off crisp, perfectly formed pop it bubbles for the very first time.
Step 10: Seal and Place the Stone in Your Garden
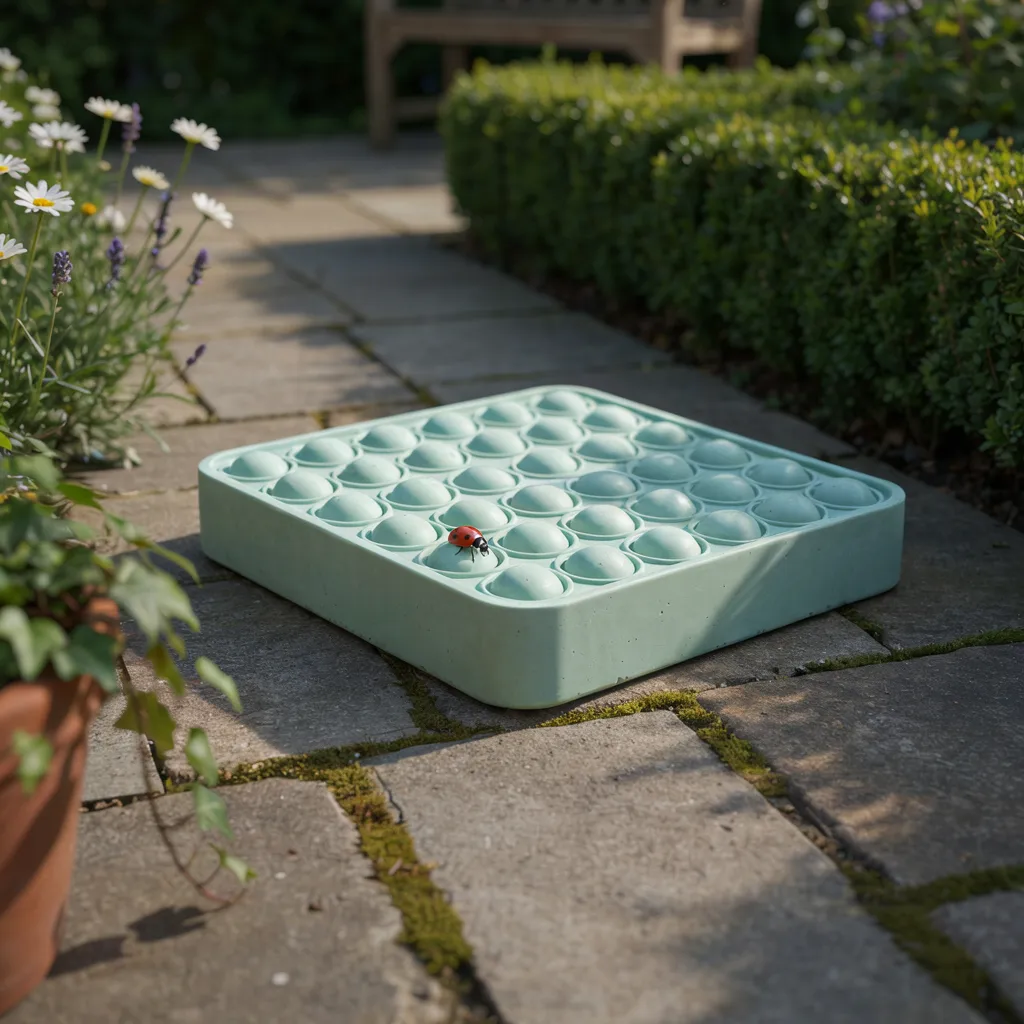
Apply a concrete sealer once the stone has cured fully, protecting it from moisture, fading, and weather damage over many years of outdoor exposure. This final protective layer keeps colors vibrant and the surface structurally sound through every changing season.
Position the finished stepping stone along a garden path, patio edge, or flower bed where its playful texture invites genuine delight daily. This last step feels genuinely rewarding, completing a project that turns a simple walkway into cherished, tactile art.
Final Thoughts
A giant pop it concrete stepping stone transforms an ordinary garden path into a genuinely playful, cherished feature worth the modest time and materials it requires. From mixing to sealing, each careful step builds toward a lasting, tactile piece of handmade outdoor art.
Loved this tutorial? Save it to Pinterest and follow along for more budget-friendly DIY garden inspiration!